
If you’re one for hikes, then this should be the top of your itinerary. If you’re not one for hikes, hear me out. This experience should still be part of your itinerary!
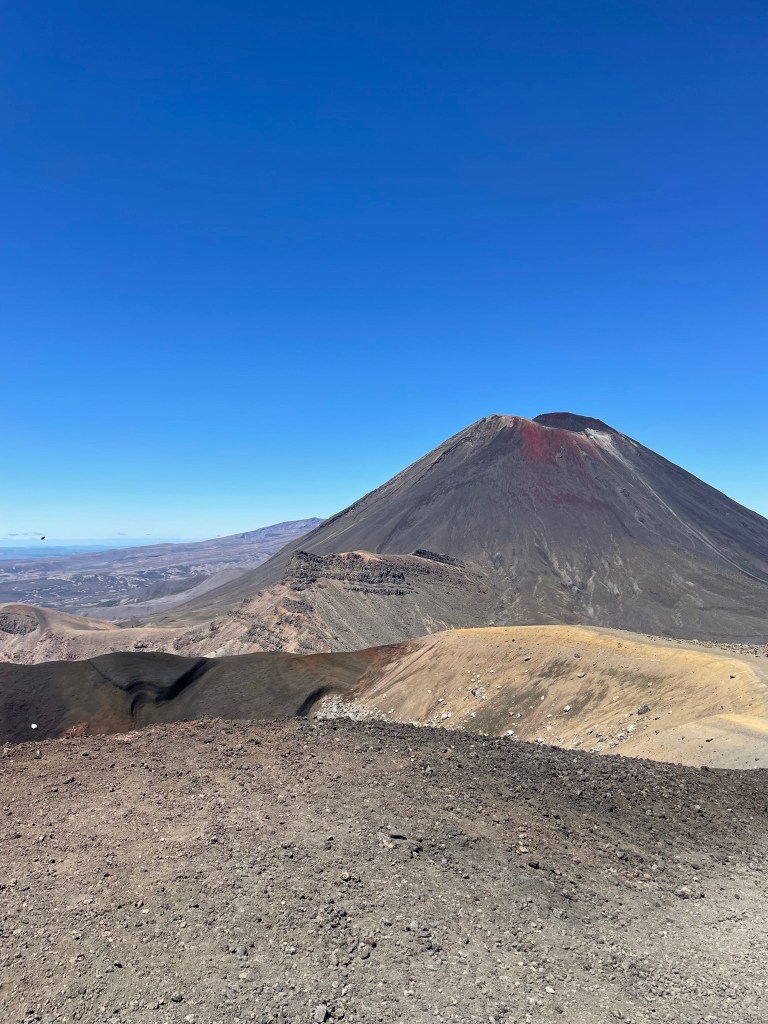
Considered the best one-day trek in New Zealand and one of the top 10 best one-day trek’s in the world, this hike is a challenge but it is well worth it. It is around 19km and takes you around an active volcano. The volcano – Mount Ngauruhoe is also featured in Lord of the Rings as Mount Doom!
To complete the walk itself, you will need to park at the end of the hike (Ketetahi Car Park) and have pre-booked a ticket for the shuttle bus & for this car park. I have used Tongariro Crossing Shuttles and Tongariro Expeditions. Both are good, and offer an early start time which are better for getting on with the trek as you want to be back before it’s dark. Both times, I have been on the 7:15am bus (or as similar time to that as possible) and this has had us completing the trek in the late afternoon. The shuttle bus will take you to the start of the trek, and then you complete the hike by walking back across the volcano and valleys to the car park.
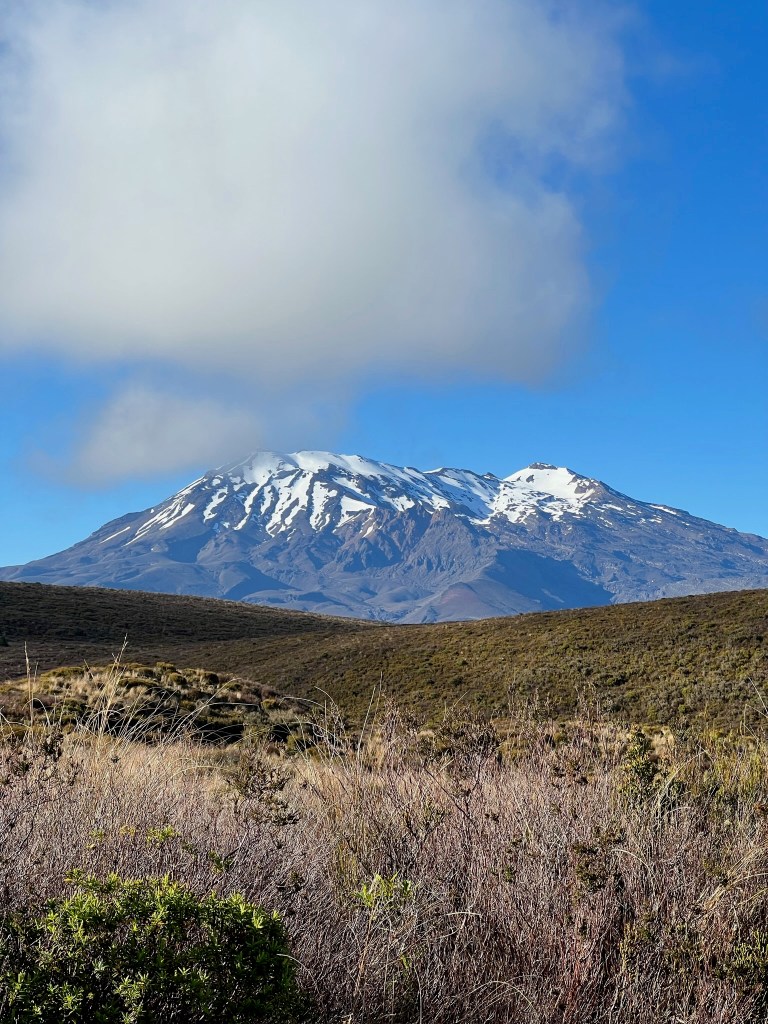
Heading round to the start of the trek is a bit of a drive, but the views are so pretty. This is a good time to get your shoes/boots tightened and any extra layers you want to put on or take off. It can be really chilly on the hike, even during the summer, so even if you don’t want your layers on yet, they’ll be worth packing for later.
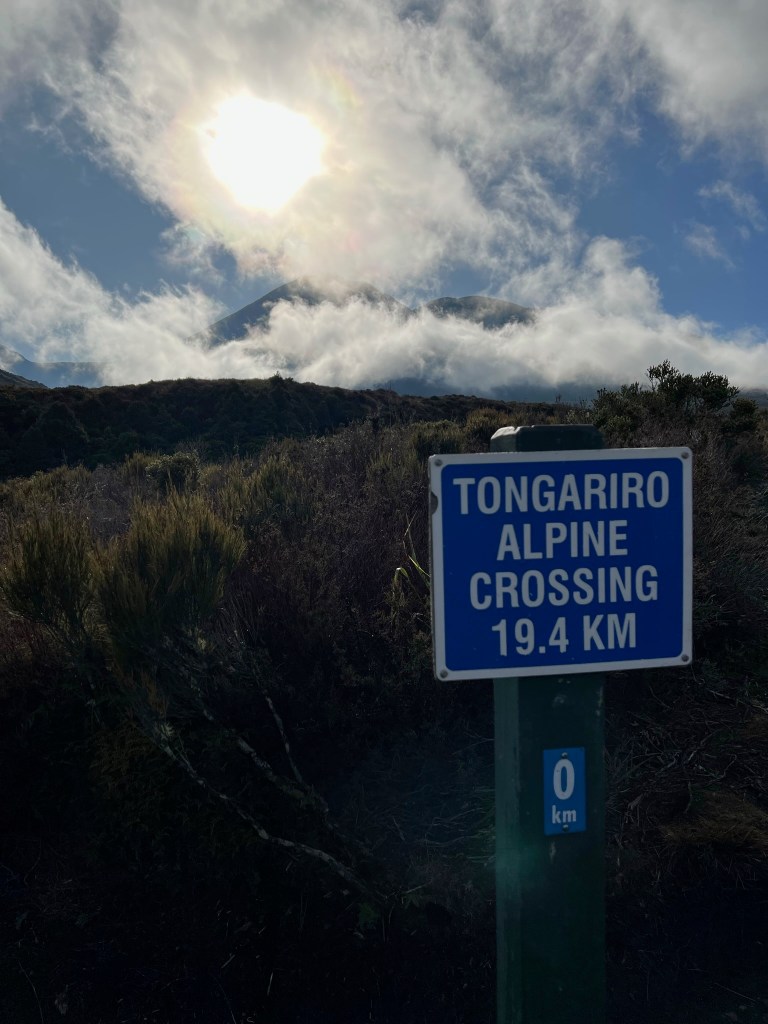
When you arrive at start of the hike, the drop off point will be quite busy with a queue for the toilets. If you’re not desperate, grab a photo with the sign that says 0km and get going first, then use the next set of loos. They aren’t too far, and they are a lot quieter. All the toilets along the hike are drop loos, so rather smelly and they won’t have loo roll. You’ll definitely need to pack some loo roll and sanitiser!
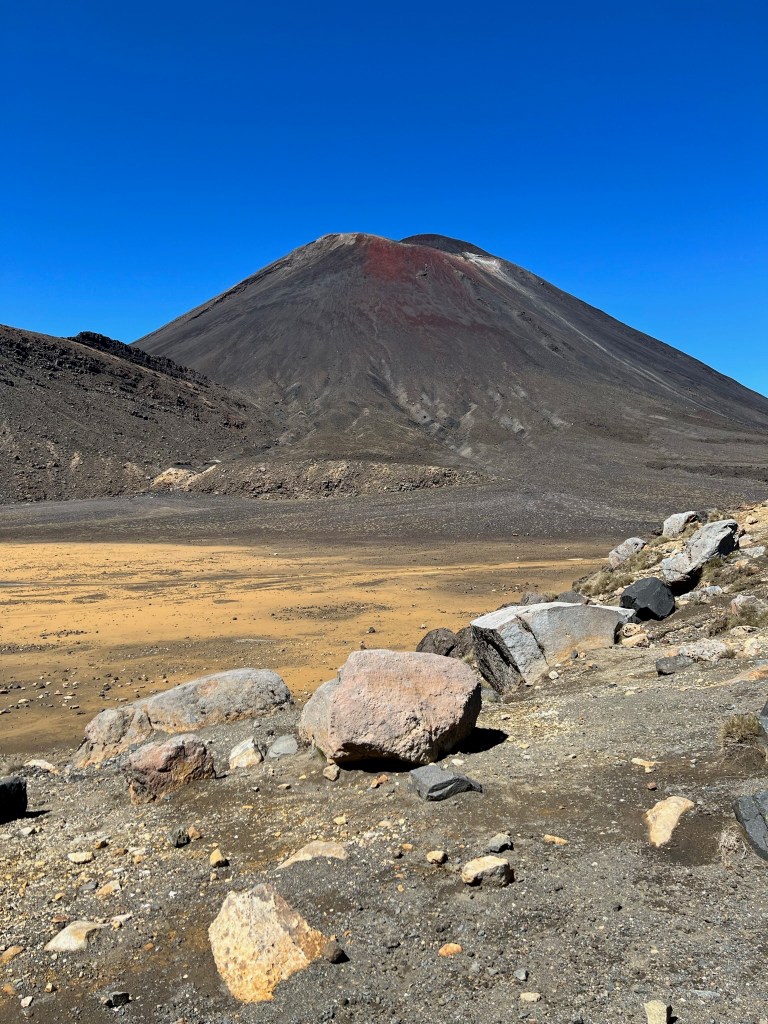
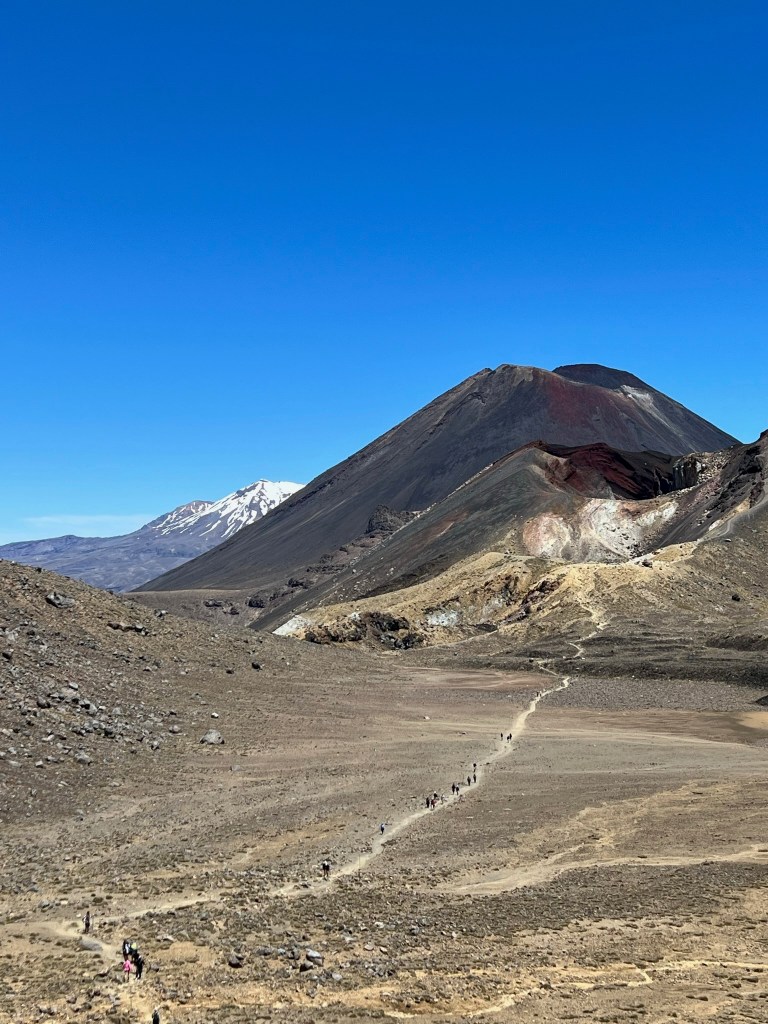
The first part of the trek is really flat and easy to walk. You’ll be able to see Mount Tongariro to the right and Mount Ngauruhoe will be in front. The trek is over marshland so to protect it from being damaged by trekkers, the Department of Conservation have placed a raised walking track above the marshland to follow. This first part is lovely to walk and gets you nice and warm ready to start the climb.
After this, you’ll you begin to climb up to Soda Springs which is where the terrain changes and you start to cover a good amount of ground. Between here and the Red Crater (the peak) you’ll climb the Devil’s Staircase. This is a really steep incline, with uneven steps. Take your time to climb this part, the views are so incredible and hopefully the weather will be really clear, so you’ll be able to see so far. In fact, when the weather is brilliant, you can actually see across to Mount Taranaki, all the way in New Plymouth.
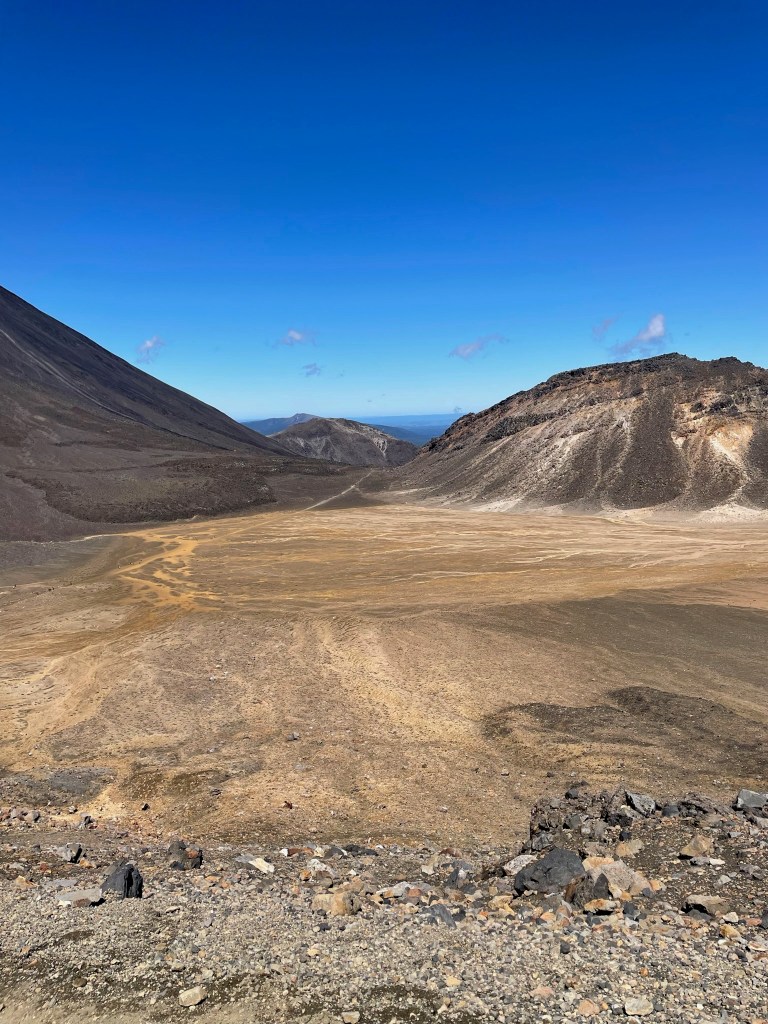
Before you climb the next large incline, you’ll come to a flat valley which is at the base of Mount Ngauruhoe. It is a huge space, and makes a great spot for taking some photos and catching your breath. I like this part of the hike as you’ve climbed a big part of the incline, the views are impressive as you’re in a big yellow valley and you can see the peak.
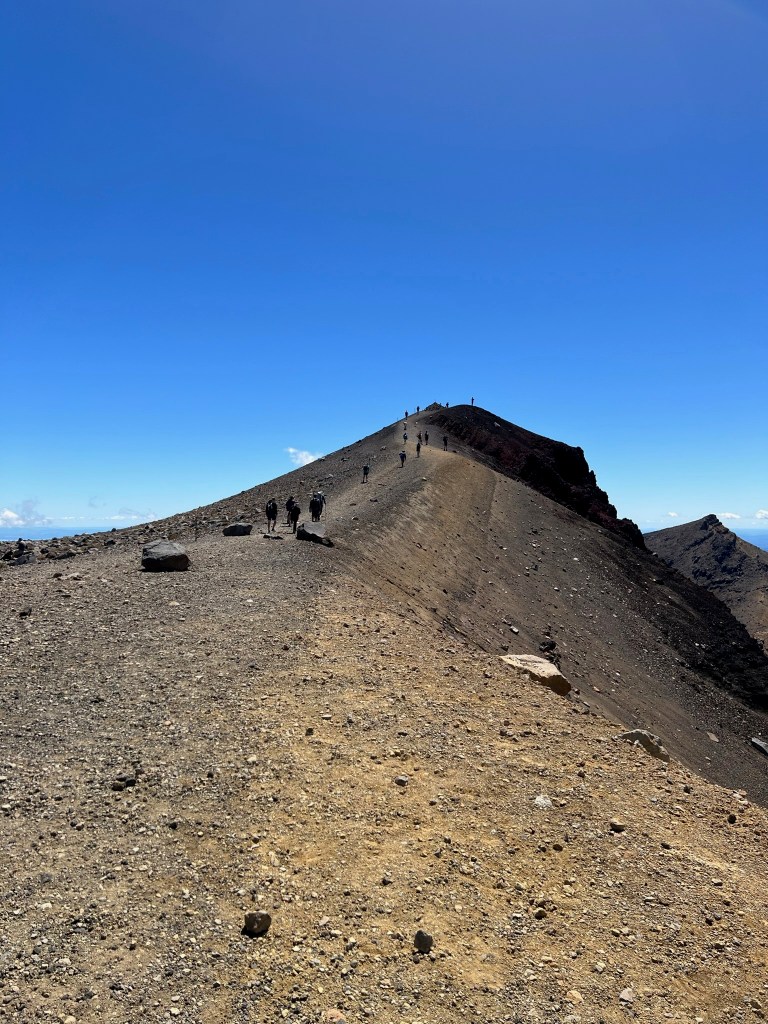
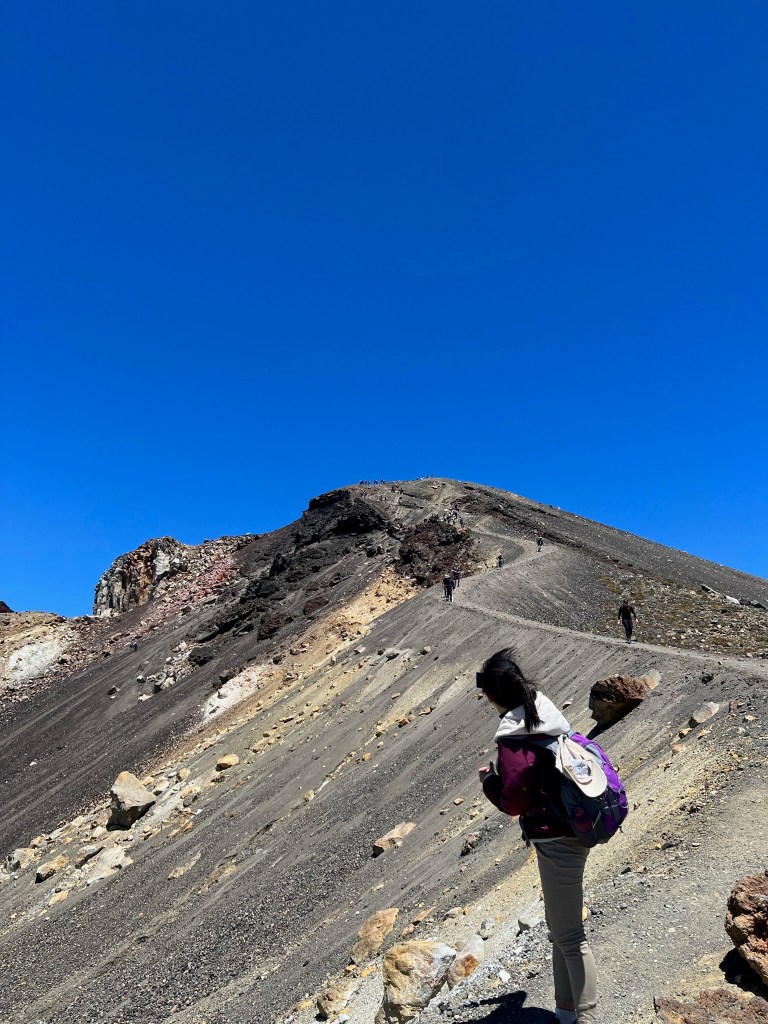
The climb to the peak is pretty tough. The first part of the peak is the South Crater, followed by the climb up to the Red Crater. The terrain gets more and more shingly, with a steeper and windier path the higher you go. When you want to stop and catch your breath, you’ll need to get yourself to the side as this part is mostly single file. We had to pause a few times, between the altitude, the cold air and my asthma, this bit was pretty tricky. If you have hiking sticks you’ll be grateful for them on the climb and the descent.
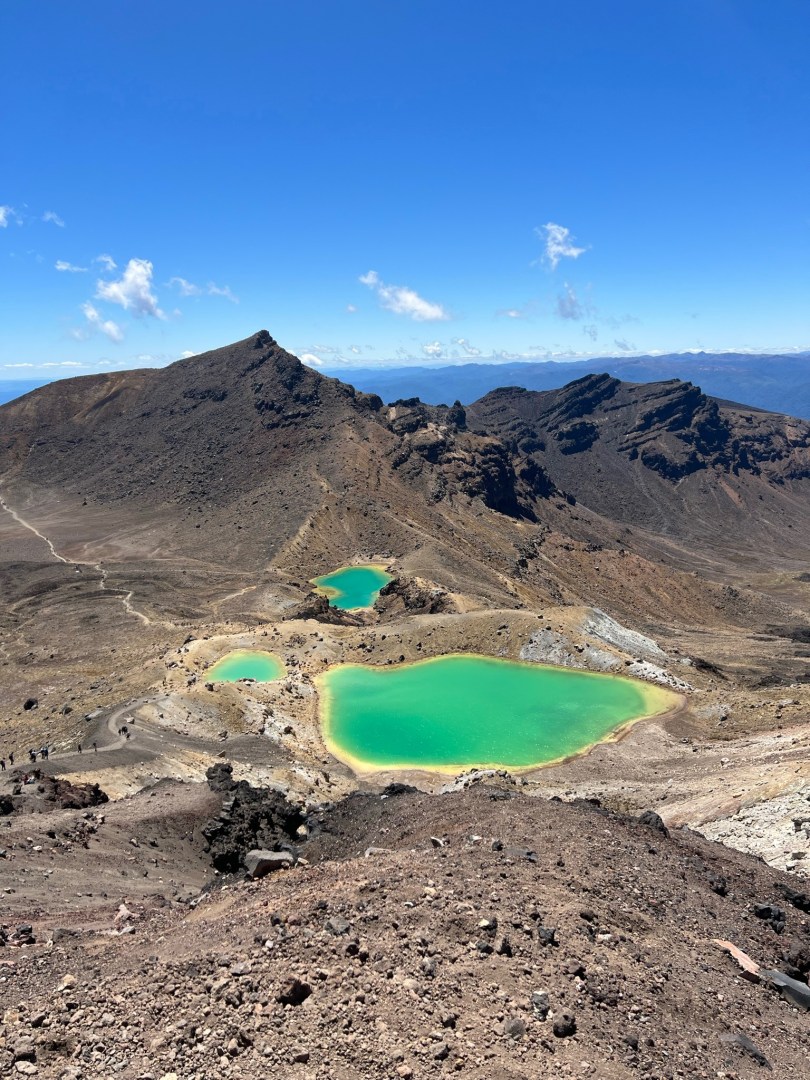
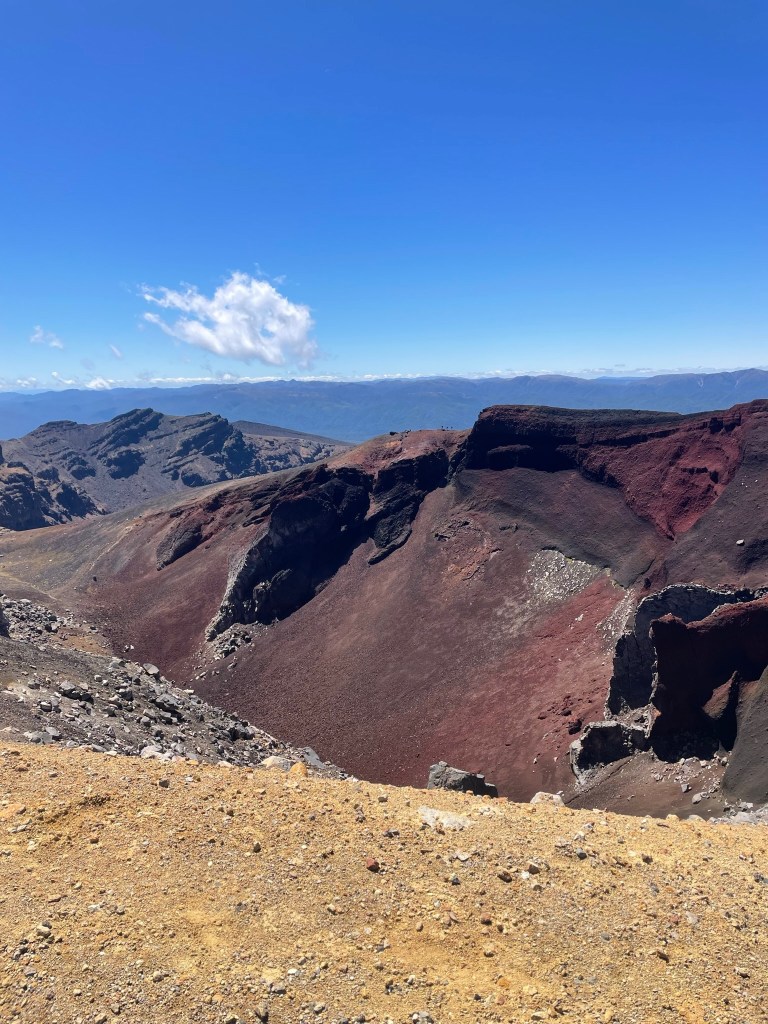
Besides the bit of slip and slide, from the South Crater the climb is fairly short up to the peak. At the top, the views are really really incredible. The Red Crater is an impressive sight, and the walk will go round this ridge so you’ll be able to get a good view of that and across the a lot of the North Island. The crater was created around 3000 years ago from a volcanic eruption, made red from the oxidised iron in the rock.
Definitely take in all the sites of the view out and across and down to the lakes! Make sure you get a photo at the peak to celebrate and also some photos of the lakes as you begin your descent. This is such a good shot of the lakes, from a more arial perspective.
When you decide to keep going (PSA it’s good to not spend too long, as you might start to stiffen up and it can be really chilly at the top), you’ll begin the descent down. It is quite a rapid descent from the top as the terrain is very shingly between the peak and the Blue & Emerald Lakes. Some people like to go for this bit by zooming down, but I was quite scared of slipping so I struggled to take it at a pace. Both times I’ve completed the hike, I have done this part of the descent by sliding down it on my bum. If you slip, you won’t go too far, but I absolutely didn’t want to slip, so I descended with a lot of caution!
Once you’ve reached the Blue and Emerald Lakes, you’ll see the beautiful colours up close. The lakes are incredibly sacred so don’t get too close to them and definitely don’t touch the water. Depending on the wind direction, the smell of sulphur should be quite fragrant too. If it’s not too strong, it’s a good spot to sit and have lunch – of course within a respectable distance of the lakes.
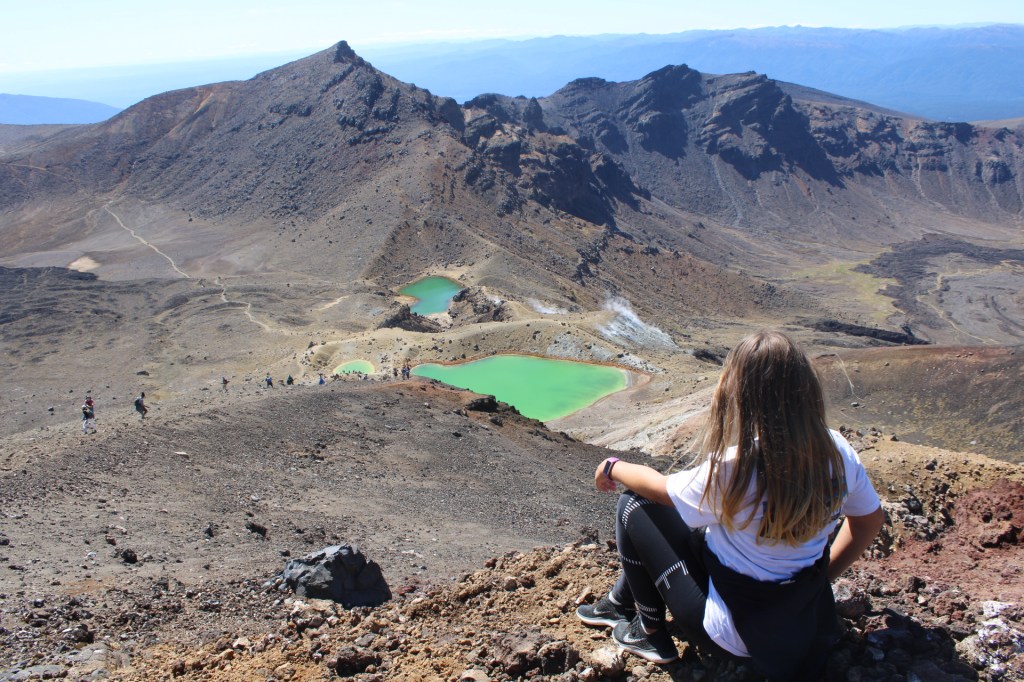
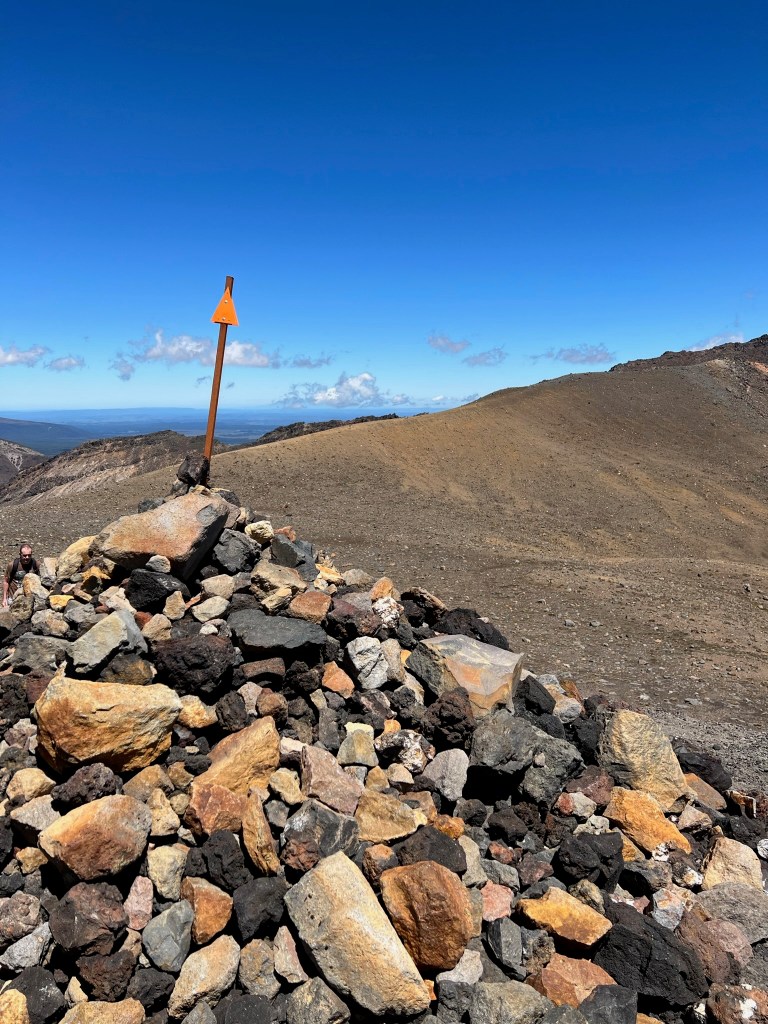
After a good lunch break, you’ll head off again on a slight descent down to the flat valley. Walking across the valley is really surreal, you’ve crossed the peak and you’re making your way to the end now. Before you get right to the end of the valley to begin climbing again, turn around and look back where you’ve come from. This photo is one of my favourites of the hike!
To descend, you’ll have another incline up to the Blue Lake. This is another scared lake and is incredibly important to Mãori people. It is a beautiful lake to look at, but the water is actually really acidic!
From the toilets by the Blue Lake, the rest of the walk is a fairly rapid decline. It’ll still take a good few hours, but it’s pretty steep. This is a good time to catch up on some time if you are a little behind. If you are being picked up at the end of the hike, this is a good time to update your tour guide.
You’ll wind your way down and around, the terrain is mostly a mud track. The area around is actually private land and there are also geothermal vents and slippery land, so definitely keep to the track only – even though it might feel tempting to cut out some corners.
There’s actually a spot from the track where you can start to see the end point of the trek. The car park is in sight! As you dip down the side of the mountain, you’ll find yourself getting into thicker vegetation. This will keep going until you reach the very end. Eventually you’ll hit the 45 minutes to go point and that’ll just fly.
Once you hit the end, you’ll have walked a whopping 19.4km!

Both times I’ve reached the end, I’ve been knackered but felt so proud. I really hope you do too – it’s a huge accomplishment.
I’ve added a few PSA notes below & a list of some things I’d recommend adding to your packing list for the hike. I do strongly recommend the trek, but please do pay attention to the weather and your own abilities. There are points that you can climb to which allow you to see the volcano on fairly flat ground, before turning back to the start and of course, if the weather worsens, don’t power on. We had to delay our trek for a week or so until the weather improved. Definitely keep an eye on the weather and check the DoC website before booking.
If you are a regular hiker, you’ll likely have hiking shoes with you. If you are not, it is possible to complete in trainers although I absolutely would not recommend. We survived but it is risky, the terrain is really mixed so proper shoes really are needed and we would have completed many more hikes in New Zealand had we had actual walking shoes.
A Brief Packing List:
- Warm Layers
- Hat / Sun Cap
- Gloves
- SPF & Lip Balm
- Water – min 2L per person
- Snacks & Lunch
- Rehydration Sachets
- Mini First Aid kit
- Head Torch / Mini Torch
- Walking poles (if you’ve got them, they’re definitely handy!)
- Camera
- Portable Battery Pack
- Sunglasses
- Waterproof Jacket – even if it’s clear blue skies, thing’s can rapidly change during the crossing, so this is really essential.
- A Buff
- Spare sock (a special from my boyfriend, who insisted on taking extra socks for us, turns out it was a good job he did!)
Hope this is a helpful summary! I really can’t do it justice and the crossing is one of the most incredible things I’ve ever done in my life. So if that doesn’t convince you to do it, I’m not sure what will!
lots of love,
Han x

[…] to see the Māori Rock Carving before heading to the visitors centre to check the weather for the Tongariro Alpine Crossing. You can book that for the next day or you can wait to return later (we had to wait as it was bad […]
LikeLike