
If you’re thinking of going to New Zealand, the only way to do it is a roadie in a campervan!
New Zealand has always been a bucket-list place for me and before I’d even left the country, I said that I would be going back one day, hopefully it won’t be too long. We experienced as much as we could before the interruption to travel that was/is Covid-19. This blog is all about why you should hire a campervan to explore the country, how we did it and our Spaceships Camper experience.
By the way, this blog is from 2020 but it still stands as I went back to New Zealand in 2022 – 2023 for another road trip and used the same companies and methods as I did in 2019. I have written an updated blog – A New Zealand Summary, if you want to check that out as well.
Why we hired a Spaceships Campervan and did a road trip:
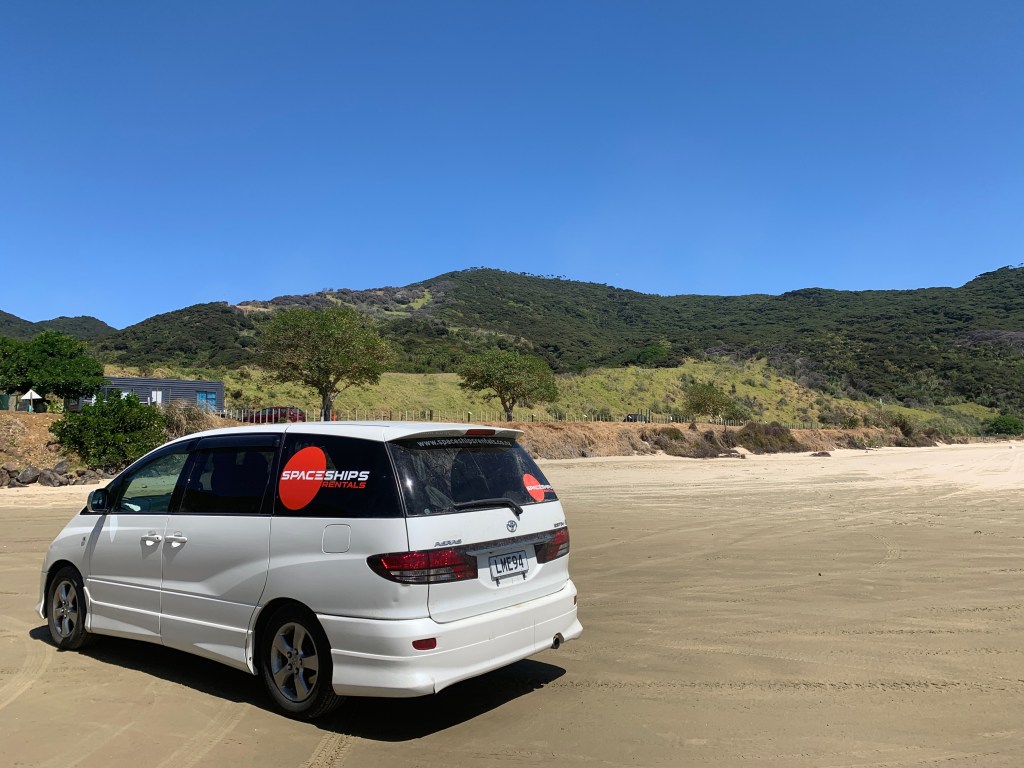
The number one reason why we hired a camper was for the freedom. I absolutely love driving and driving in different countries is something I’m comfortable with. We had the complete freedom to stop wherever, whenever and at as many view points that we wanted and because of this flexibility, I saw some of the most beautiful sites & places this amazing country has to offer. Hiring a van for this road trip was genuinely the most freeing thing I’ve ever done.
If you’re not the most confident driver it would be worth considering doing an alternative way of getting around as New Zealand exploring involves a LOT of driving, and the hours/distance between places that seem close, can actually be really long.
Having complete control of your trip is the best because if you arrive somewhere and don’t love it, you can just move on. Or alternatively, if you’re loving somewhere you can extend for however long you want and explore more.
How we booked our Spaceships camper:
All three vans that we had on our trip – 2 in Australia and 1 in New Zealand, were all booked by through Ratpack. They booked almost all of our excursions on our travels and are genuinely lovely, friendly people and deserve all the support as a small travel agency.
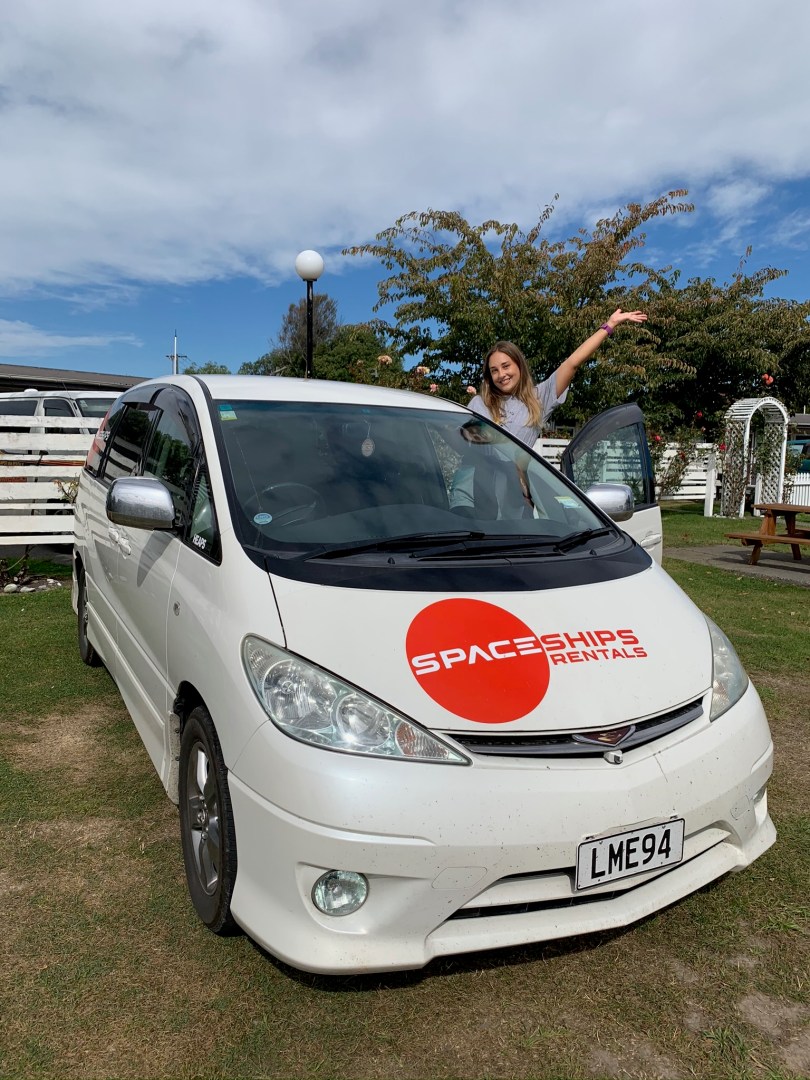
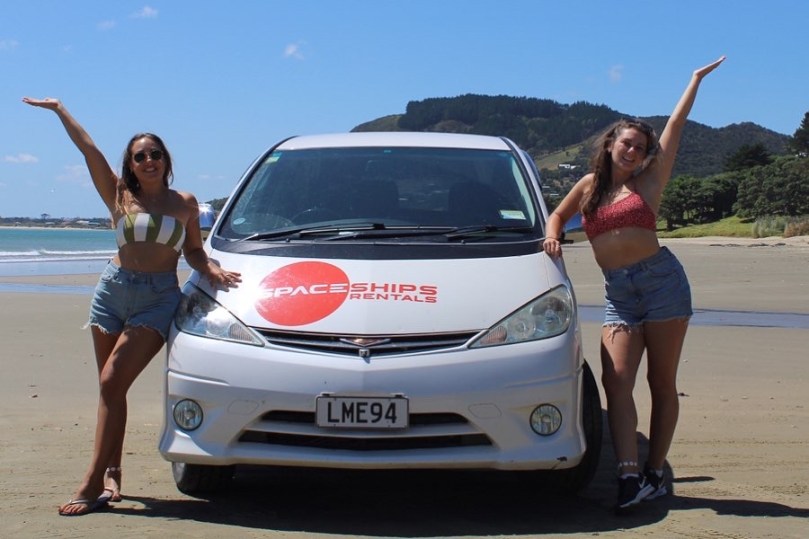
Our NZ camper was a Spaceships Beta Standard Campervan. It’s a 4 seater, 2 sleeper and an automatic. As it’s a car size and shape too, its more economical, can be parked in any space, much easier to drive and no height restrictions to worry about. To be honest it’s definitely a perfect camper for both the first timers and super long term trips like ours, as it kept the cost down as much as possible as it didn’t churn through as much petrol as our other campers and was cheaper to hire. Despite how cute and how much we liked our camper, it wasn’t a certified self-contained which is actually pretty essential for a NZ trip and something I would definitely insist is essential now knowing how freedom camping in NZ works.
There’s lots to consider and things to look for whether you’re booking for yourself or through a travel agency. It’s worthwhile comparing the company hire sites, their vans, the prices and insurance covers such as hiring bonds if doing it independently. Take your time with planning it but definitely book in advance as they can be busy during the peak season – we’d booked all three via Ratpack not long after we left the UK.
Things to consider when booking a Spaceships Camper:
- How much room you need: Neither of us are particularly tall, especially not me, so we were ok with the camper we had and the fact we couldn’t sit completely up right on the bed. And the storage was fairly small too but luckily both bags and most of our contents fit the under bed storage cupboard.
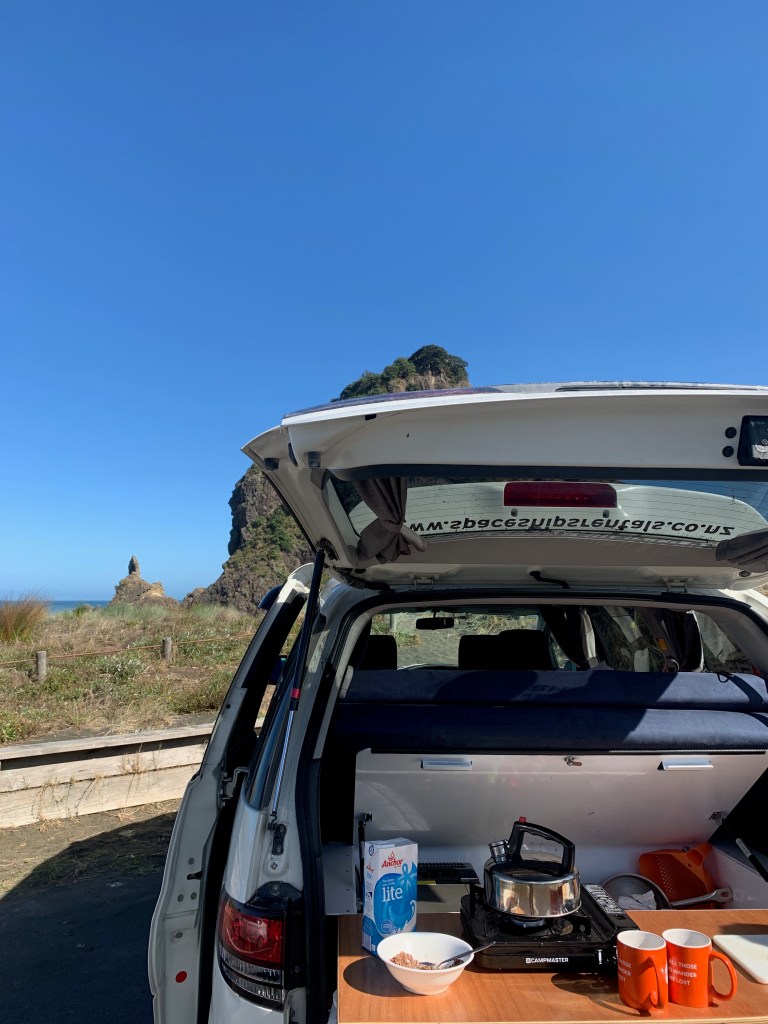
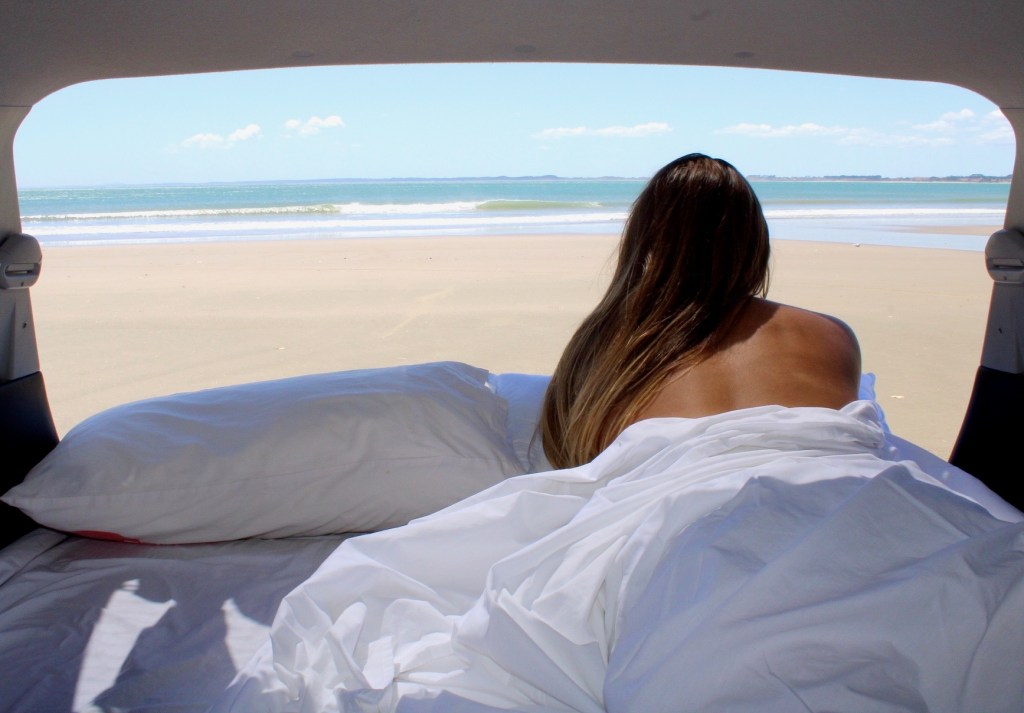
- Talking about room, the bed in our particular Spaceships van was long enough for us but if you’re taller, whilst your legs could be hanging off the end, you could definitely stretch them out fully. The bed – which had to be made up every night, also extended out of the back of the car when the boot was open with a wooden plank used as the base and was covered with an awning style cover that hooked over the top of the boot and secured to the sides of the car and wheels. It was lovely to have this option in the warmer nights in the paid sites and gave the feel of being in a tent. We did use it occasionally in the freedom sites but felt safer in the freedom sites to sleep with the car all shut and locked.
- The kitchens position: We didn’t mind the kitchen was under one half of the bed and that we could only access it whilst outside with the boot open, although it did limit our space for chopping and washing up we were able to use the bed extender plank as a surface. It was only a tiny issue for us on the occasional time it rained as we were happy doing everything outside.
- Talking of kitchens, the fridge is worth checking as some offer ‘coolboxes’ instead of fridges which for a weekend would be fine but for any longer it’s not gonna be any use whatsoever. The fridge was effective but very small, so we prioritised the essentials only and went meat free.
- Check everything that’s included in the hire cost such as; bedding, utensils, tables, chairs and cookers. We had them all included except a table and chairs which we added when we collected the campervan at the Spaceships depot. Slightly frustrating as we had expected it to be included as they are kind of essential but it was luckily a one off fee of $30.
- Cooking limitations: We had two small individual gas ring burners which meant we were limited to two pan meals. We quite often got away with one pan dinners but it’s worth thinking of a few and planning meals carefully to save you time and money before you go so you’re not living off just pasta – although let’s face it, there’s nothing wrong with having pasta every night. Hans Hint: A couple of gas canisters were already in our van which was handy for the first day/night but I’d stock up when possible because they can get expensive in smaller towns, are hard to find and 1 canister lasted us only two days.
- It was pretty cosy so if you’re thinking you’d need more room, a van rather than a car – like Autobarn vans (these were really popular) could be more suitable or one with a pop out bed bit on the roof – lots of Juicy car-style campers had this option.
Budgeting:
I’m not going to pretend we were able to save lots of money whilst campervanning because it is expensive, there are lots of costs involved after you’ve hired your van. This was something I was aware of but I hadn’t fully processed what this would mean or what the realistic costs were going to be. Don’t get me wrong though, it is totally doable, just helps to be organised and practical about your expenditures.
Our camper was pretty cheap, and there are even cheaper campers available but they didn’t have a fridge or other basics which we knew would be essential for 2 months. So it’s worth spending a little more here and being realistic about what you will need.
The biggest expense was the fuel. It is expensive in NZ and when you’re driving almost every day it does drain the tank and the bank. Just keep an eye on the petrol and fill up in bigger cities when you can. Also, watch for the petrol prices as in some cities where there were 4 petrol stations the price varied massively and we were able to save a lot by noting what prices were in each one. Join up for the petrol stations fuel cards too, you’ll accrue points quickly and this should save you some money.
We were told by friends that Pac N Save was the cheapest food shop, but we did find some of the local supermarkets were also pretty cheap so don’t be scared of shopping in those. Pac N Saves are best for bulk buying which we did when we first went out on the road, loading up on dried pasta, squash (cordial), long life milk, cereal bars and cereals, crisps etc. They’re handy because they stock absolutely everything from cleaning products to fruit or toothbrushes and razors. It’s also worth checking their receipts as they quite often have 15% off petrol which saves a LOT of money – some of our petrol bills were $100 + but with the Pac N Save discount they were down to $80.
Campsites were the other big expense. Paid ones could be pretty pricey at times and occasionally we had no choice but to stay in a paid one. They are handy though, as most paid sites have clothes washing facilities, showers, kitchens, electric hook ups and WIFI which are all essential when on the road for long periods of time. The alternative is freedom camping. There are lots of rules around freedom camping which vary depending on whether you’re self-contained or not, and the sites can be small with only 4 or 5 spaces available which are likely to fill up quickly but if you can get on one, abiding by the rules, then they can be some of the most beautiful and peaceful places to spend the day. Hans Hint: if you’ve not got a self-contained van, it is possible to freedom camp but there are just less sites about.
I kept a close expenses list the whole time we were in New Zealand and I’ve added it because when we were researching our trip there was no sort of budgeting tips anywhere. I don’t know if this is because other bloggers have received discounts and therefore can’t disclose a genuine cost or whether because it depends on what you do/what van you hire etc but I found it so hard to get my head round so I thought it could be beneficial to include this breakdown.
So, I split the expenses into sections for ease as we went & then totalled it up at the end of the trip. Just for background, this was the cost for 2 people who weren’t super adventurous but did do some activities in from February to April in 2020. The total is reflective of the fact we chose to stay in freedoms where possible and we were savvy with food (we didn’t eat meat in the van as it was too expensive) but we also did take the scenic route where we could so were happy to spend more on petrol and visit smaller locations on the way. Also, our trip only lasted 39 days instead of the 62 we had booked (thanks again, covid). We recorded our spending in New Zealand Dollars and Pound sterling as well as our individual cost.
Petrol Total: $1156.52 = £566.23. Cost each: £283.11
Campsites Total: $601.99 = £303.04. Cost each: £151.52 – this total was for 20 paid sites on the North Island & 10 on the South Island.
Food Shop Total: $471.44 = £237.32. Cost each: £118.66
Campervan hire cost for 62 days: $5,435 = £2680.77. Cost Each £1008.98 (just a reminder – this was booked through RatPack in 2019)
Overall Total: $7523.58 = £3787.36. Cost Each: £1893.98
Miscellaneous – obviously this will vary depending on your budget/trip but this was a rough idea of what we spent on extra bits such as ice creams, ferry to picton, activities like the glow worm caves. We worked this out individually so thats why I’ve included it at the end. My total was $479.44 = £241.35 added on to my overall total.
How to plan the roadie:
Because we had 2 months in New Zealand – which was plenty of time, we originally split it 50/50 and aimed for a month on each island. After doing it, I would recommend more 3 weeks on the North Island and 5 on the South Island. We dragged out the North Island quite a bit – don’t get me wrong we still filled the 4 weeks but if you’re looking to fit it all in a shorter time frame, I’d minimise time on the North Island first. It’s not that it isn’t wonderful, it is just that there a bit more to see on the South Island and I think I preferred it.
Planning the route itself though, I had a map of each Island on which I highlighted points of interest or places I knew we wanted to visit in a very general clockwise route. With a month calendar – I literally drew on scrap paper, then worked backward from the date we wanted to aim for the ferry crossing, added in the main places we wanted to stop, and then added some stops or bigger towns that were just on the map to break up the journey. Once we had a generalised direction/route it was easier to divide our time so we didn’t get caught out by the days going too fast and having to miss places or activities. That being said, we did change our routes on the way, as well as turning up to places driving through them and thinking ‘oh was that it?’. The key is flexibility and to be open to days of doing very little, as well as days of hours of driving and activities.
How to choose campsites:
We used a free app called ‘Campermate’ that friends had recommended which I genuinely don’t know what we would have done without. It not only tells you where campsites are, but you can also filter it to show you ones appropriate for your van as well as where WIFI, water taps, supermarkets, tourist information and more can be found.
If you’ve filtered to your camper appropriate needs, the rest of the campsite booking is simple. Depending on where you are, campsites can be limited but we didn’t have any issues with getting spots on paid sites and only a couple times we struggled getting a spot on a freedom camp and had to move on as they work on a first-come-first-serve basis. Once you’ve selected which campsite, if it is paid, you can either call ahead and book – most of the campsites have their details or website link on Campermate, or just turn up on the day and book then. I expected to be booking them in advance but as we got into the swing of things with our roadie we mostly just turned up on the day we wanted to stay. However, if you’re heading to busy campsites near big cities, it’s unlikely there will be freedom camps and the paid sites could be busier so it might be worth ringing ahead and booking to save yourself any stress.
How to navigate your trip:
With the hire of your camper there might be the option of hiring a satnav if it doesn’t come built in. If you think you’d prefer this, it’s good to get this added on with your camper when you first book it, although most places will allow you to add it on when you arrive to pick it up.
However, we were conscious of how much we’d already paid so we decided to stick to navigating on our phones. Google maps is ok but it drains your battery and data which when you’re without WIFI can be an issue, it’s not always super accurate and only works when you have signal – bit of an issue in NZ. We instead downloaded an app called ‘Sygic’ that my mum had actually recommended (big thank you to my mum!) and it was a bit of a lifesaver. We only had the free version and it did crash a couple of times – we were using it at least 6 hours every day for 6 weeks, but on the whole it was such a help. The biggest bonus is that you download the country’s map that you want and then it works offline, so you save data, battery and your sanity as you can always find your location. Hans Hint: Since we went in 2019, Google Maps has now added an offline feature, so for our trip in 2022-2023 we downloaded areas of New Zealand offline and used this instead!
Hans Hints:
- Go self-contained! Having done a road trip I would say this is SO essential in New Zealand. It’s possibly more expensive but it means you can freedom camp without any stress and have more choice of sites.
- Load up on bulk buys in Pac N Save in the big cities, but don’t be afraid of the small towns local shops like the farm foods as they weren’t as pricey as we expected.
- Plan routes to avoid aimless driving but also don’t be afraid to take detours to see more.
- Keep an idea of a route around each island even if you don’t stick to it just so you don’t miss out on places you really want to stop off at.
- If you’re not fussed about which direction to travel NZ, then consider going from Christchurch to Auckland as it’s the less popular route and can sometimes be cheaper.
- Opt for a camper with USB ports or a built in charging point! Essential for long road trips.
- Budgeting: we took pre-paid debit cards with us for our trip (I used Revolut, my bestie used Monzo – they are basically the same) the app offers a budget allowance for a month or a week. This was so handy for keeping track for the whole of our travels as it instantly updates, free to transfer money, its really secure – you’re able to freeze and unfreeze your card, and free cash withdrawals abroad (this was so helpful).
Alternatives to campervan hire:
If campervanning really doesn’t appeal, then there are other ways to get around NZ. The most popular that we knew of was the Kiwi Experience. A combination of guided tours and a hop on – hop off bus definitely seems like a good way to see the island and a way to get around that takes the stress out of travelling alone or as first-timers.
If you’re thinking about doing a New Zealand road trip or have done one, I’d love to hear from you and what you got up to!
lots of love,
Han x
P.S. all the links to apps or Spaceships are not affiliated with the companies themselves, they are just who we used whilst away and what made our travels easier. I would genuinely recommend them all, and have been doing to my friends and family.

[…] incase you’re looking for it, I’ll link my other blog here which contains all the details you might […]
LikeLike
[…] Fingers crossed this blog has been helpful if you’re booking a trip to New Zealand – apologies for the length of it, kudos to you if you’ve made it to the end! If this has got you eager to learn more, my Essential 2 Week North Island Route is linked at the top, but also some more tips for campervanning can be found here! […]
LikeLike